
 1 old bookcase + 12 sheets of scrapbook paper = proud Oma
The old bookcase looked pretty tired in the new bedroom, but if I wanted a new one I had to do it myself. My DIY projects have to be cheap, quick and easy, and this one was. I chose paper that was easy to match on the edges, then measured and cut the sheets to fit the back of my bookcase.
Dee sprayed the adhesive,
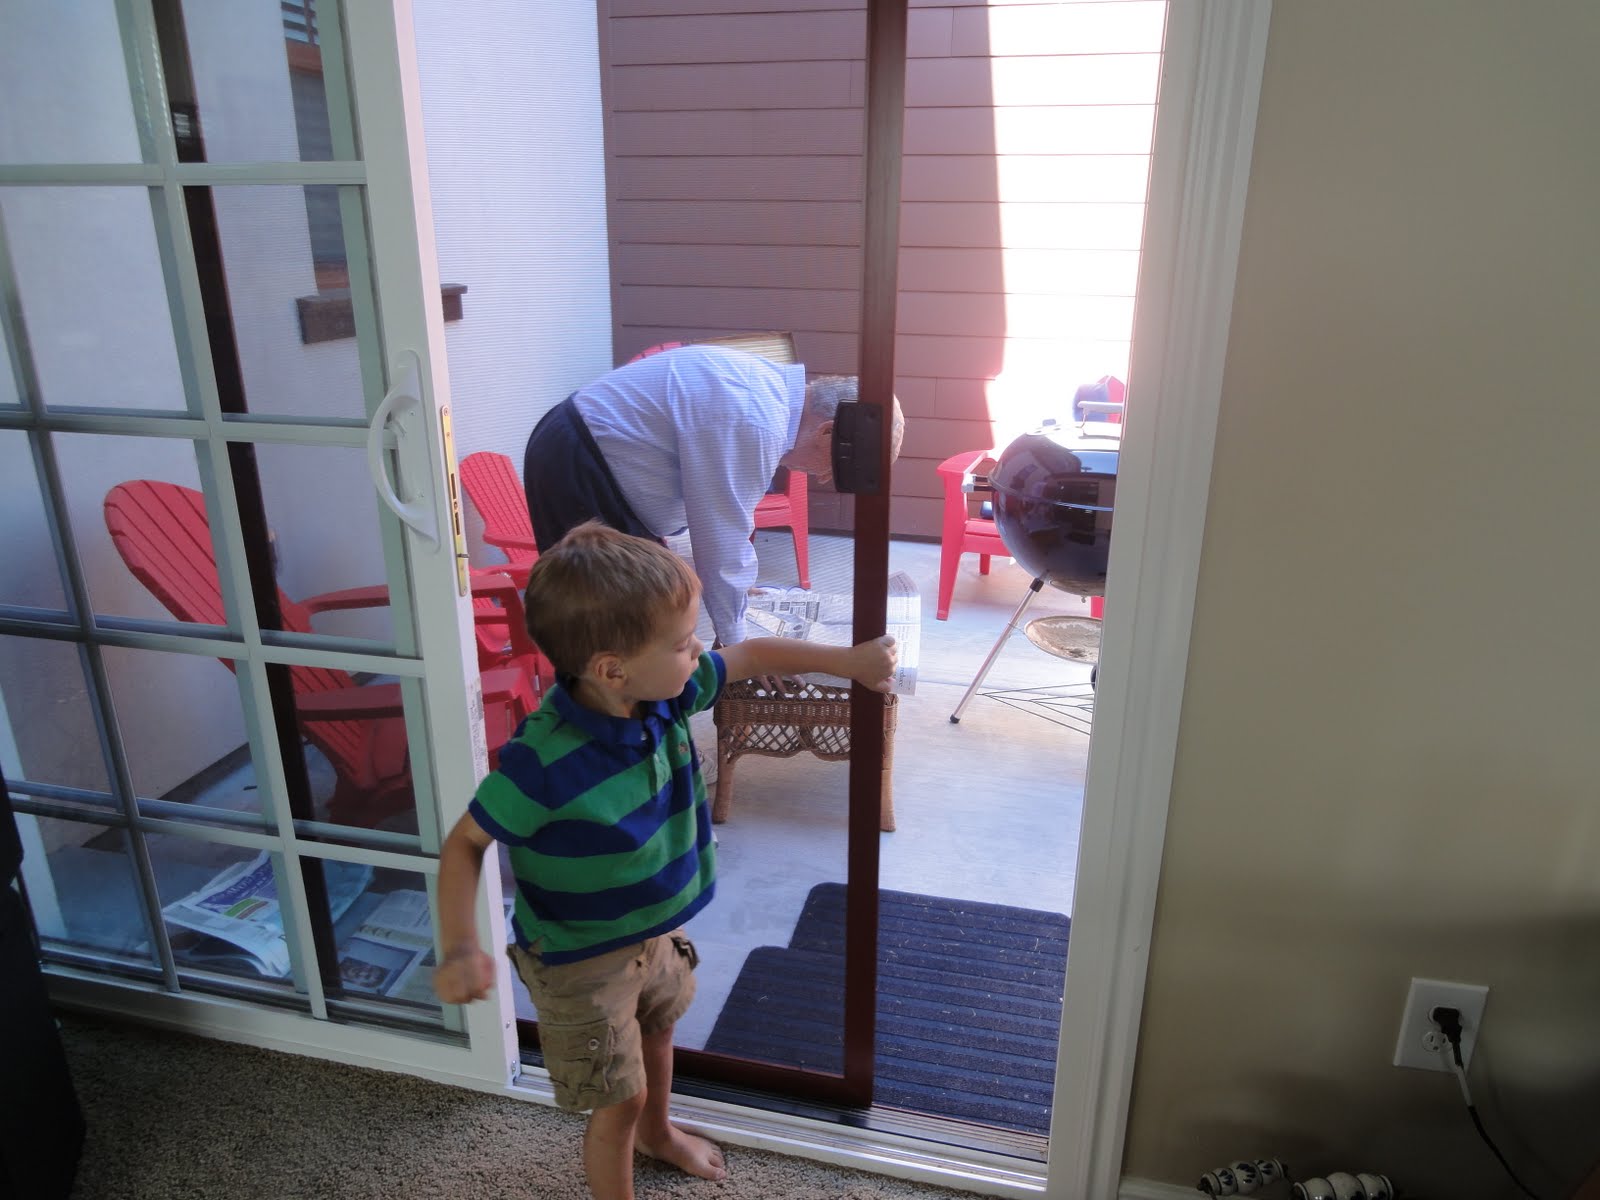
Benji manned the door,
Benji manned the door,

And I quickly stuck the paper on the bookcase.

In typical fashion, I had measured wrong and didn't have enough paper for the bottom shelf. No worries. I just filled in with a different pattern.

The whole project took less than an hour, but it needed some finishing touches: I turned a wooden utensil box on its side to display miniatures, and glued a collage of scraps on two boring hatboxes.
 Oma's reading nook
A showpiece for my showpieces!
4 comments:
I LOVE LOVE LOVE this idea!!! So, so cute.
Pretty clever.
Way cute! I've got a few bookcases that could use some paper! thanks for the idea!
This is my kind of DIY project. Love it!
Post a Comment